
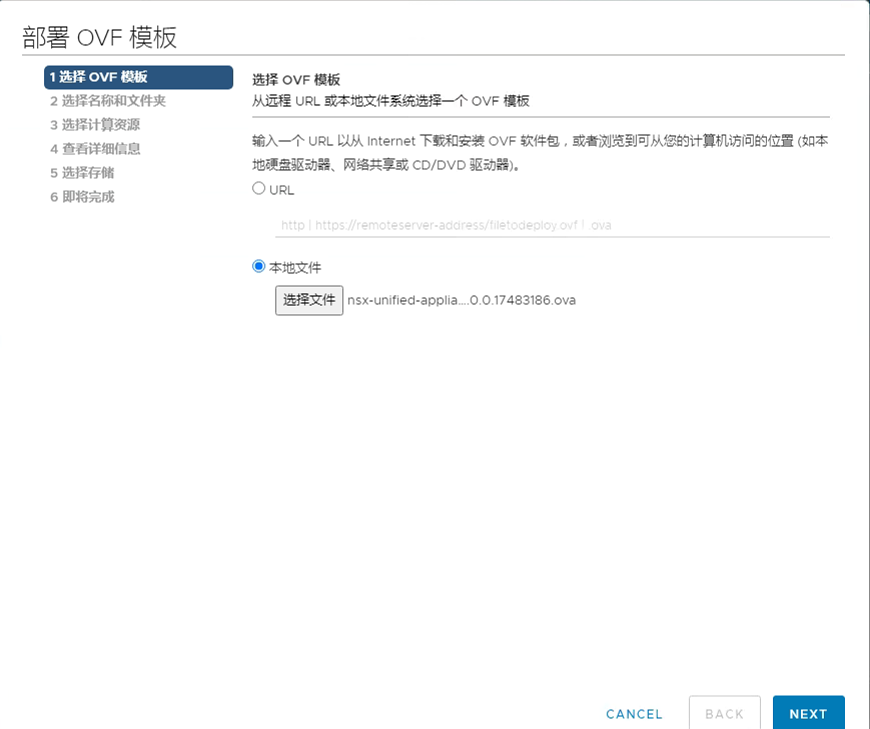
1、部署OVF模板,选择本地ova格式的安装包。以3.1.1.0为例;
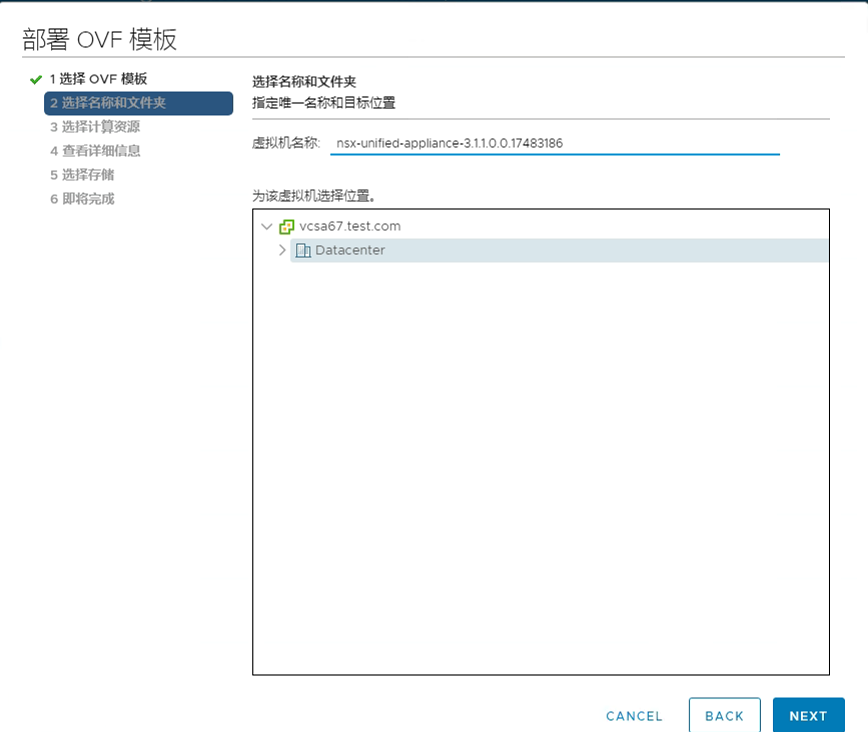
2、按照提示,选择存放位置;
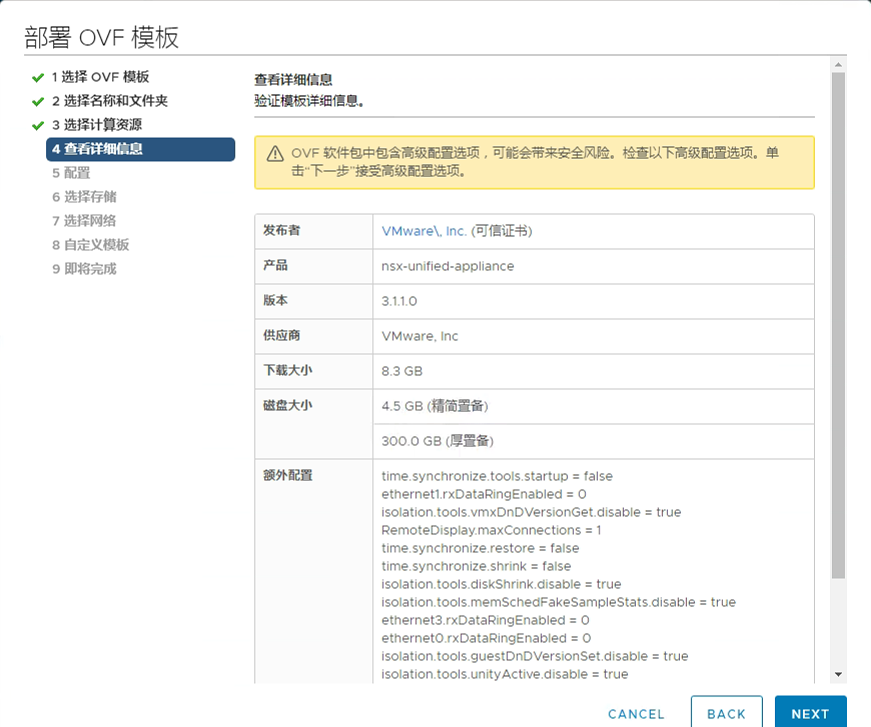
3、确认,下一步;
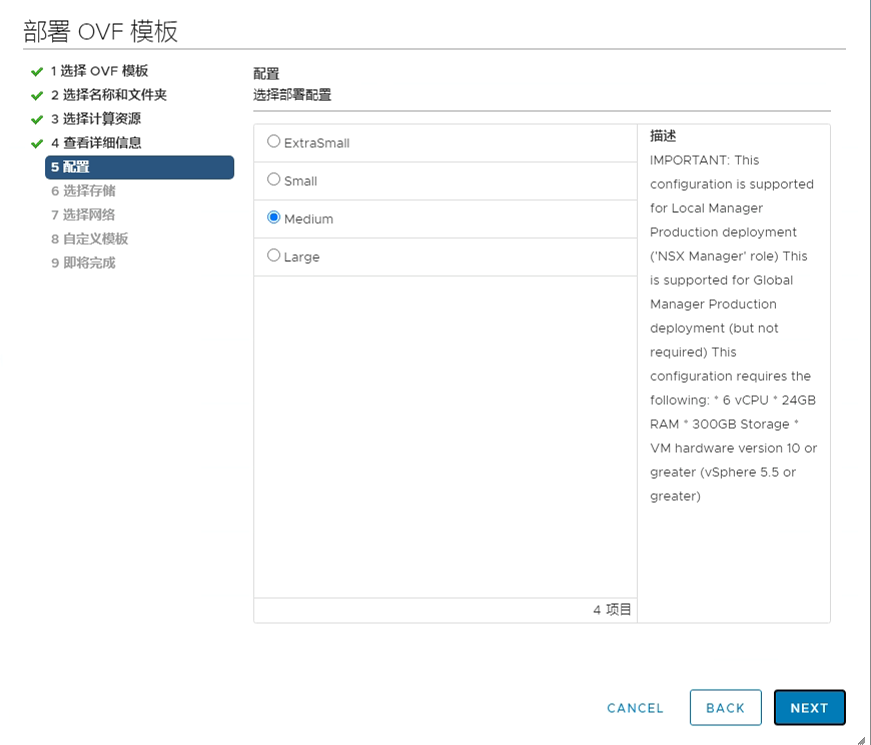
4、选择部署规模,根据实际情况选择;
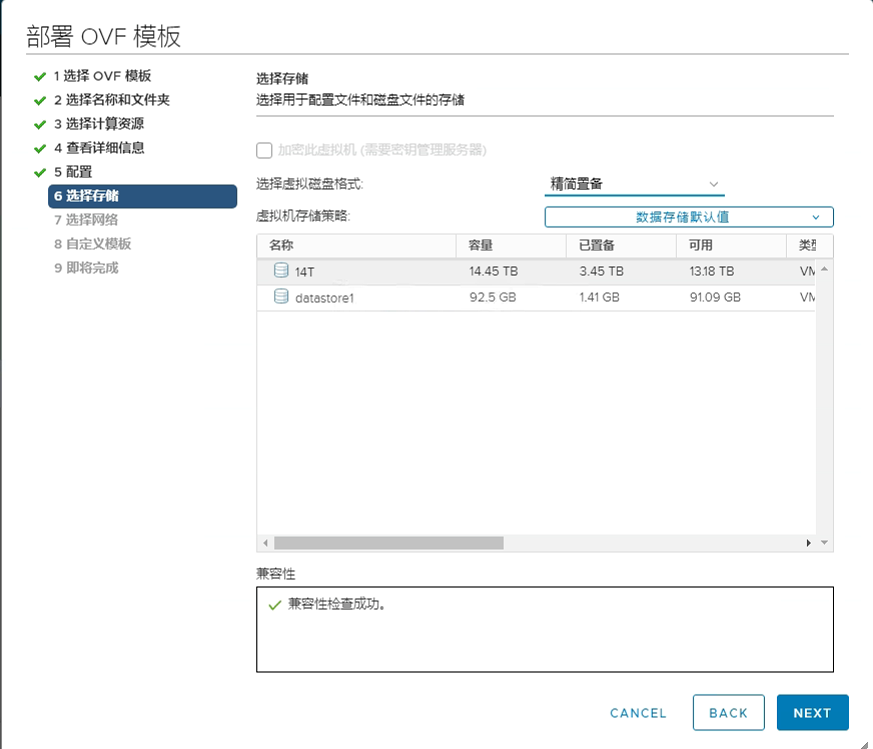
5、磁盘置备模式,根据实际情况选择,我这里选择精简;
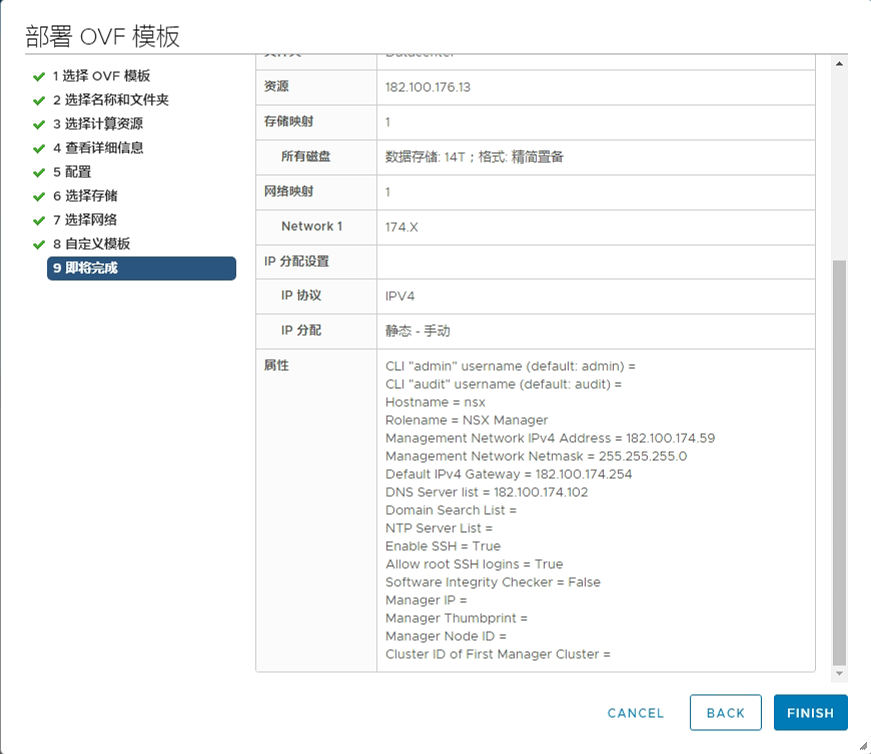
6、按照提示填写IP,网关,掩码,密码等信息之后确认;
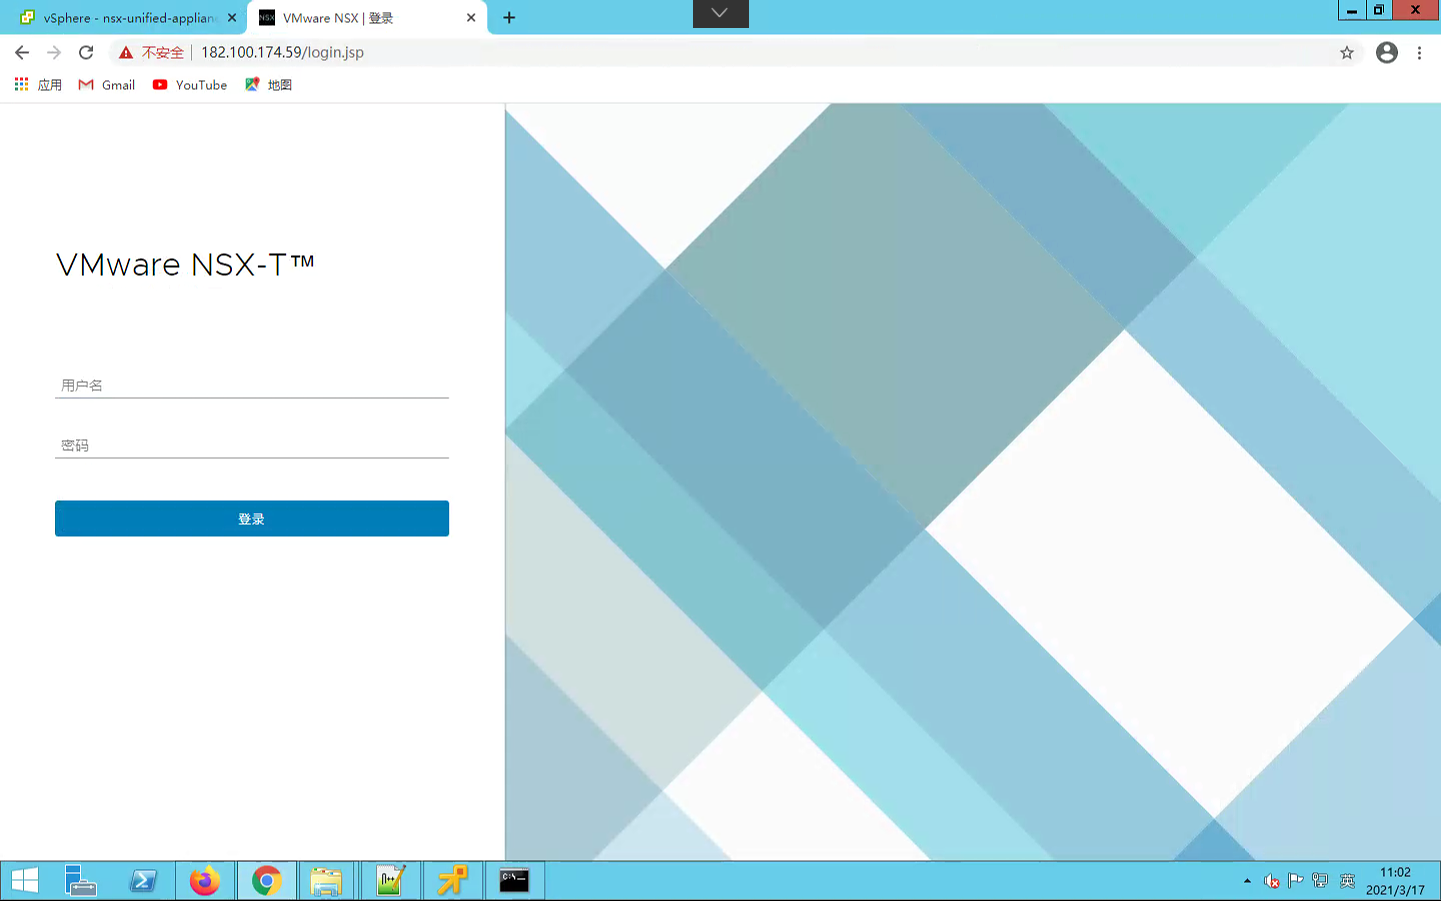
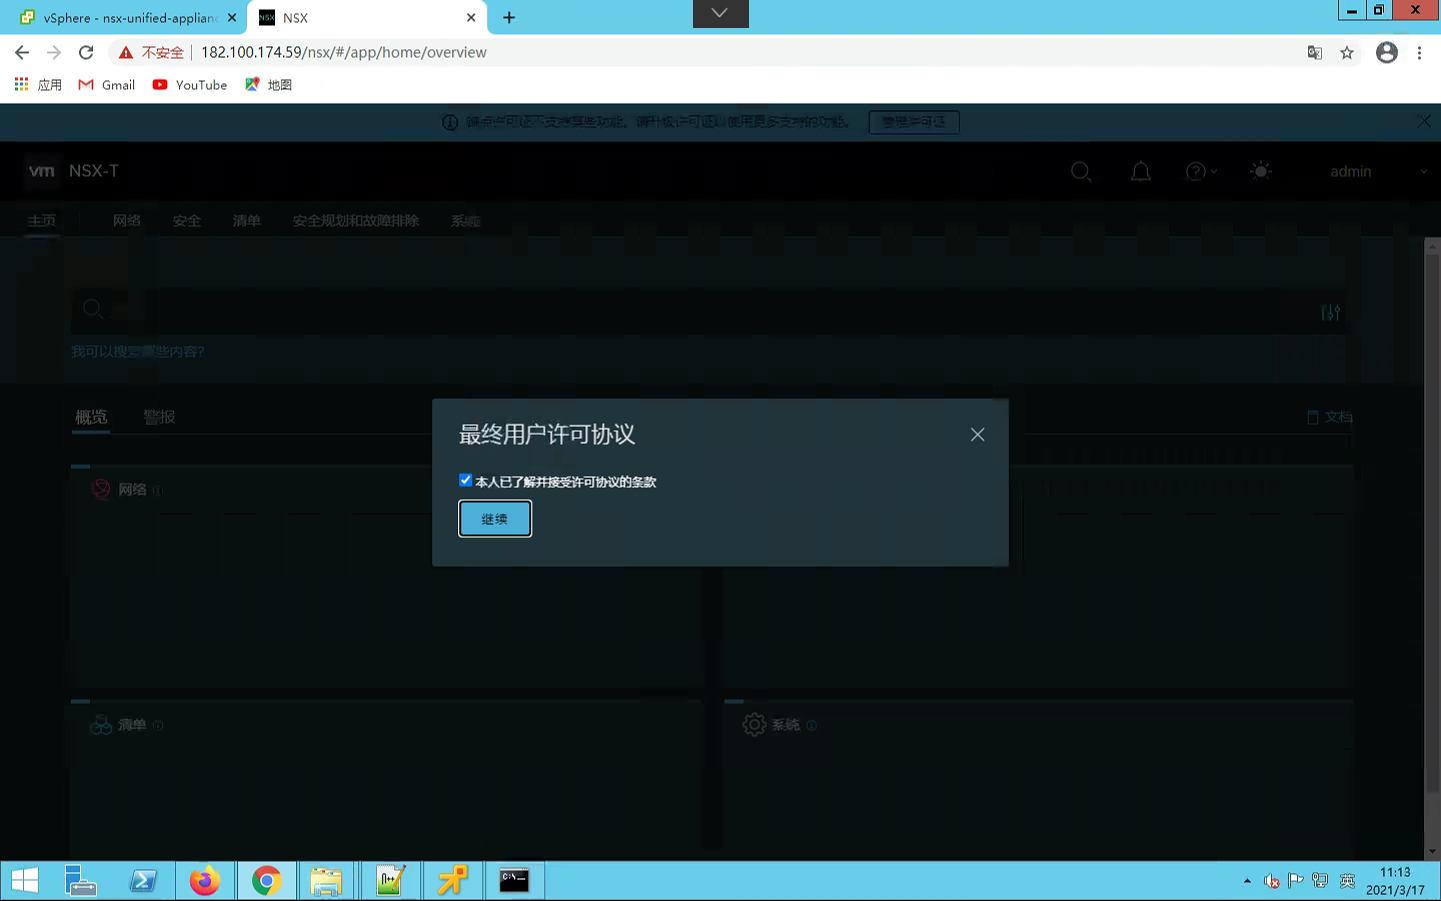
7、等待导入成功,开启虚拟机,等待服务启动成功,登录https://nsx-ip,进入NSX-T配置界面;
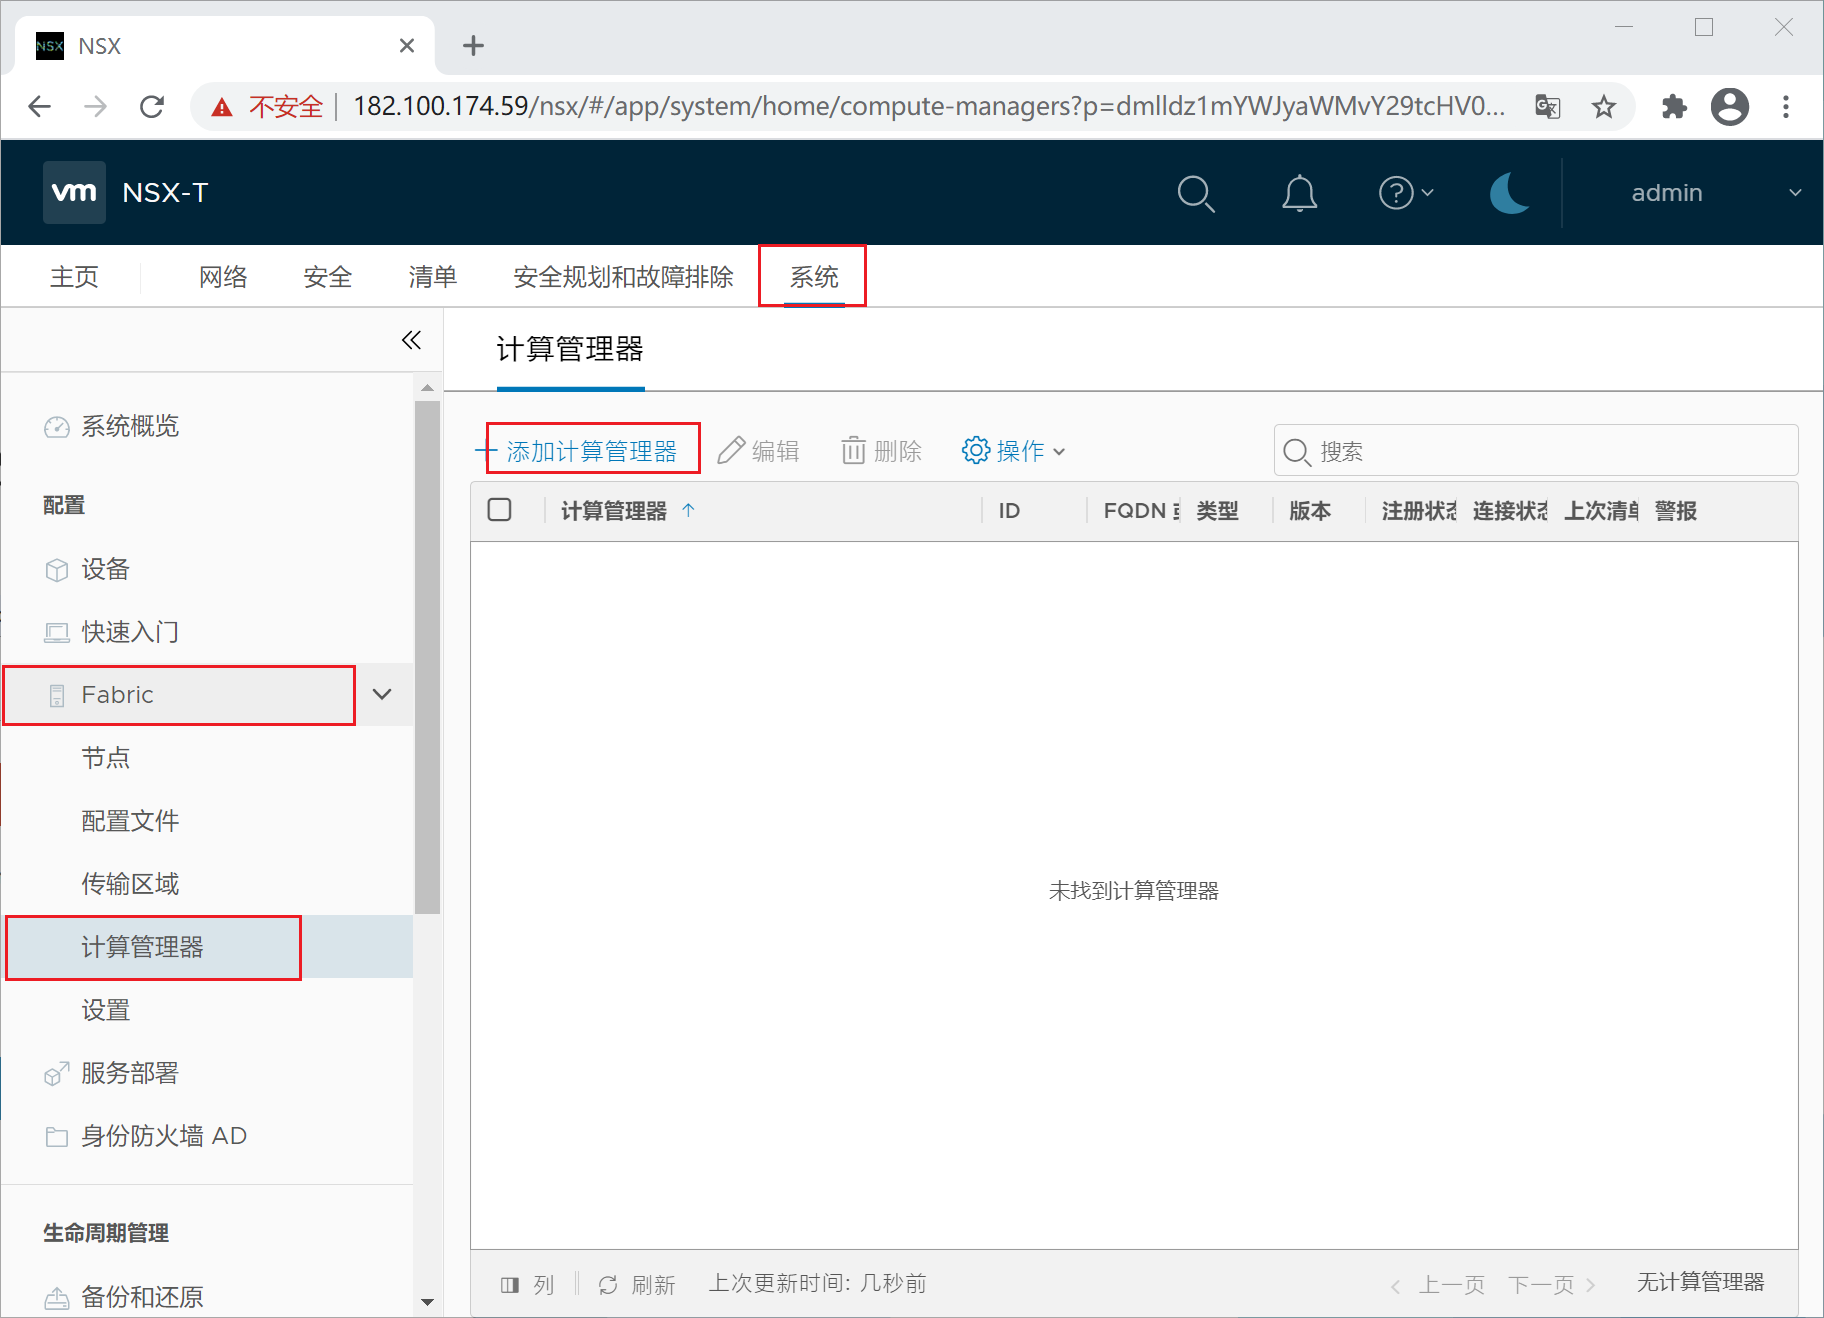
8、注册vCenter,选择系统-配置-Fabric-计算管理器,添加
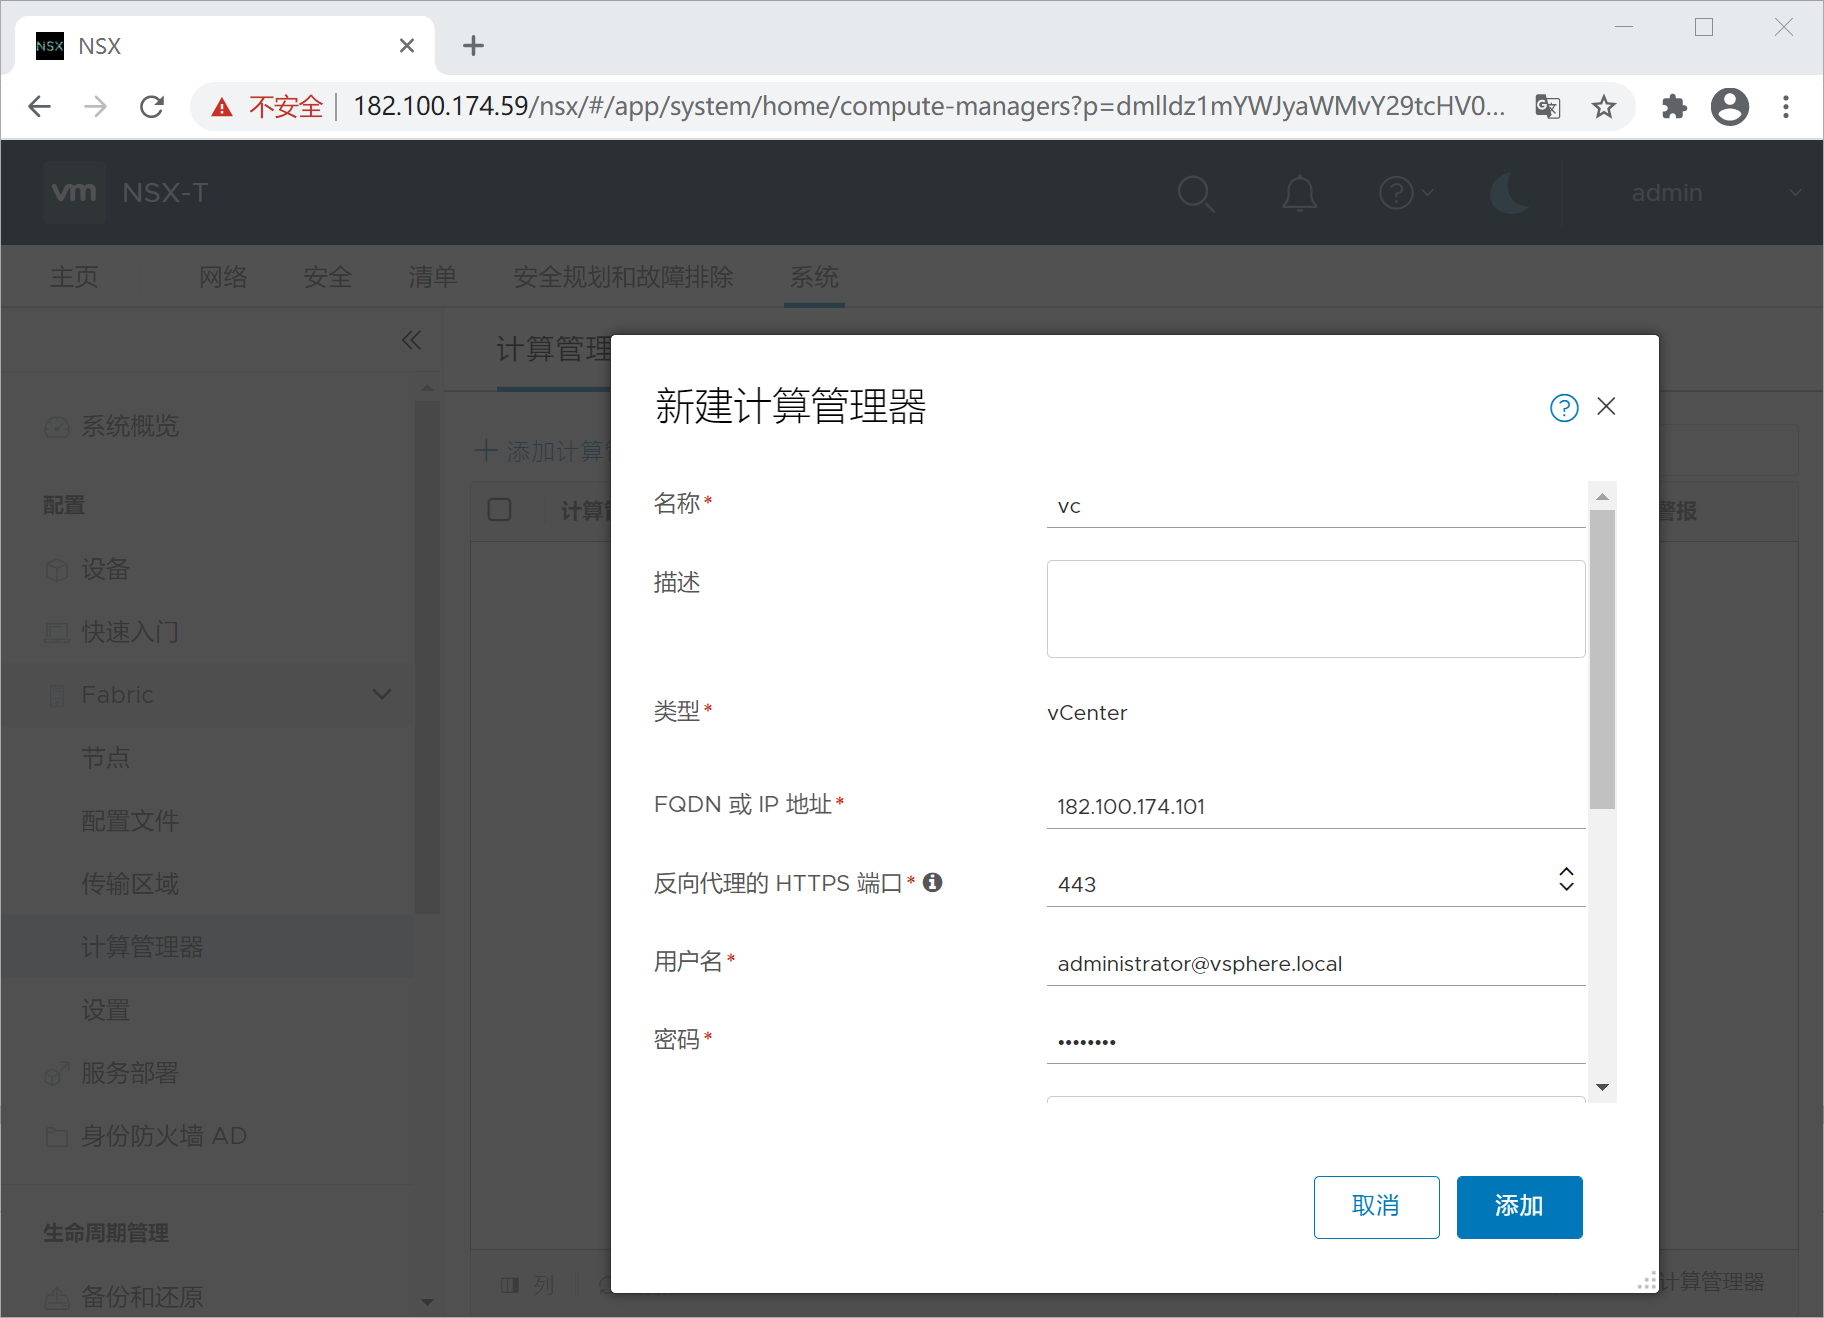
9、填入vCenter的IP地址,用户名和密码;
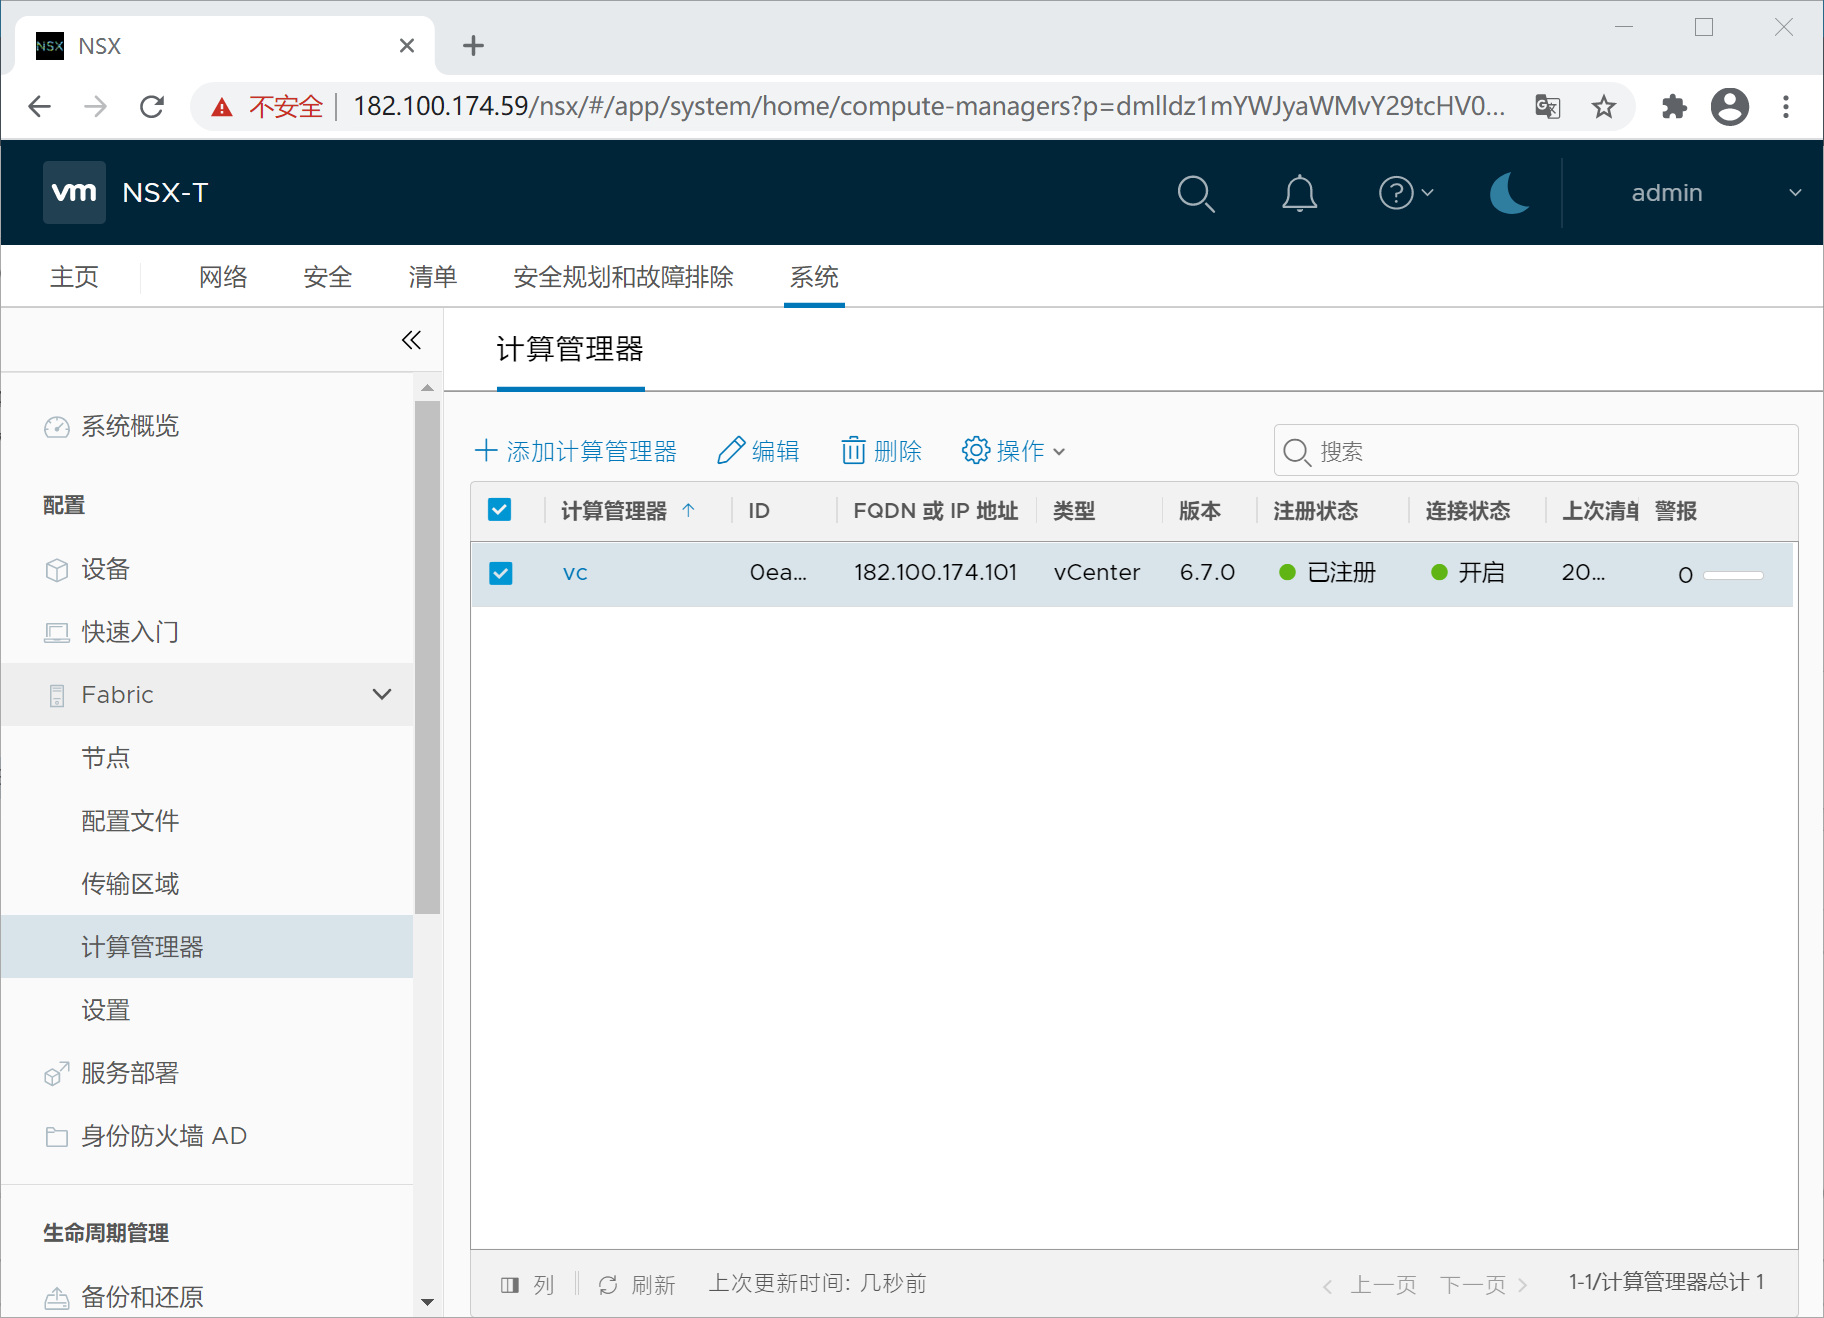
10、当连接状态和注册状态如下图,显示已经注册正常。
安装后建议配置密码过期选项:参考:NSX-T 管理员密码已过期处理办法
get user admin password-expiration    #查看密码过期时间
set user admin password-expiration 9999   #设置密码过期时间为9999天
get user root password-expiration    #查看密码过期时间
set user root password-expiration 9999    #设置密码过期时间为9999天
get user audit password-expiration    #查看audit密码过期时间
set user audit password-expiration 9999   #设置audit密码过期为9999天
11条评论